Step 1
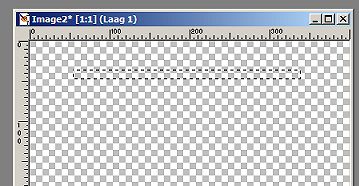
Open a new image 400x400 pixels,
transparent.
Take your selection tool and choose rectangle, feather 0 and
anti alias checked.
Draw a long, small rectangle on top of the image.
Make sure you have some space left on the sides.

Change your foreground color into
pattern and choose the woodpattern.
If it's not in your patterns, you can just simple open the jpg
with the pattern and it will appear in your patterns.
Step 2
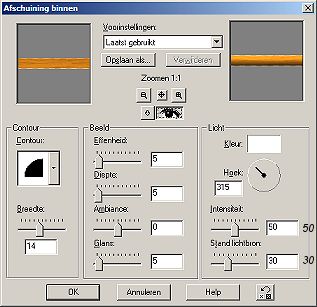
Effects - 3D effects - Inner bevel
with the following settings:

Selections - select none
Step 3
Foreground is still on the
woodpattern.
Change the background into Goldfill pattern (see tut 01, if you
don't have it)
Activate your Preset Shape Tool
Choose ertiles5, anti alias and create as vector checked.
Now draw a small figure with your preset tool

Go to your layer palette and change the vector layer into a
raster layer (click right on the layer with the + in front)
Image - Rotate - Free rotate - right 90 degrees.(DON'T check all
layers)
Stap 4
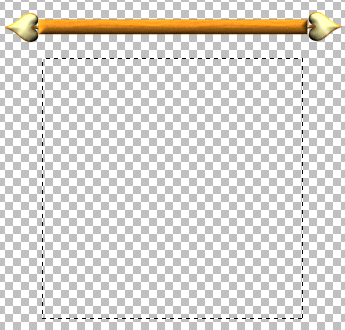
Slide the figure to the end of the
stick you've made like this:

Effects - Inner bevel (same
settings as step 2, so it must be still ok)
Click with right on layer 2 and choose duplicate (this is the
figure)
Image - mirror. Slide this duplicate to the other side of the
stick. (move tool)
Click with right in the layer palette on layer 1 and choose
Arrange - Bring to top.
Erase all little borders next to the stick.
Step 5
Make sure layer 1 is activated in the layerpalette.
Layers - New raster layer.
Activate your selection tool again and choose rectangle, feather
0 and anti alias checked.
Draw a selection under the stick:

Change the fore ground into OudPapier.
If it's not in your patterns, you can just simple open the jpg
with the pattern and it will appear in your patterns.
Flood fill your selection with this pattern.
Selections - select none.
Step 6
Layers - new rasterlayer.
Activate your selection tool again with the same settings
as before.
Draw a little rectangle selection on top of the big flood filled
selection till over the stick.

Flood fill this selection with
the pattern Oudpapier or choose a soft color from your tube(s).
Effects - Inner bevel with the same settings as before.
Push the "canvas" a bit up, so the noose will be over it a
little piece. (move tool)
Selections - select none.
Step 7
Click right in your layer palette on layer 4 (the noose)
and choose duplicate.
Push the nose to the middle of the stick (move tool).
Duplicate again and push this duplicate to the other end of the
stick.

Decorate your canvas with one
or more tubes.
Give them a drop shadow
(effects - 3D effects - drop shadow)
Settings: 1-1-60-2 and repeat on -1
Step 8
Layers - new raster layer.
Activate the Text tool and look for a font you like.
The size you can use depends on the font and the text you want
to write.
I used Dauphin, size 26.
Write a nice text or your name. You can rotate the text a bit if
you want.
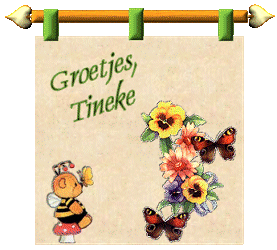
When it's all done you can merge all layers VISIBLE and you can
crop the image.
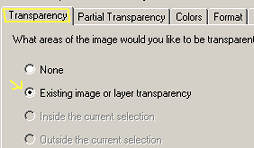
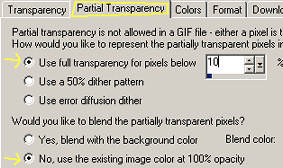
Save you creation as a gif without a background:
File - Export - Gif optimizer


I hope you liked the tutorial and
could understand my English.... |
